Guide to use the CF7 Smart AI Mail
Install & Activate the Plugin
- After buying plugin you need to log in to your WordPress admin dashboard.
- Go to Plugins → Add New → Upload Plugin.
- Select the plugin ZIP file.
- Click Install Now → Activate.
- After this when you click on plugin menu in menu section you need to login the plugin with your email and password with which you bought the plugin.
✔ If Contact Form 7 is installed, the plugin activates automatically.
✔ If not, you will see a message asking you to install Contact Form 7 first.

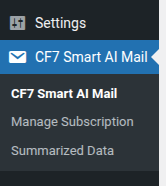
Open the Plugin Dashboard
Once activated, you will see a new menu item:
👉 CF7 Smart AI Mail
Click it to open the main dashboard.
Here you can:
- Manage your plugin.
- View your subscription logs.
- Delete and Update your summarized data.
Choose Pages & Posts for AI Summarization
To help AI answer professionally using your website content:
- Go to CF7 Smart AI Mail
- You will see a page, On this you can choose your pages, posts etc.
- ✔ Select the pages/posts you want the AI to use
- Example: “About Us”, “Services”, “FAQ”, “Pricing”, etc.
- Click Summarize Selected Pages
💡 The plugin will extract and store summaries so AI can reply more accurately.
Most importantly you need to fill the information form and save that, this information will be sent to the customer in regards section of email.

Manage Subscription
You can manage Subscription:
- You can see your logs by visitng the ecacode.com and follow the steps.
- There you can view and cancel your subscription.
- Changes take effect immediately

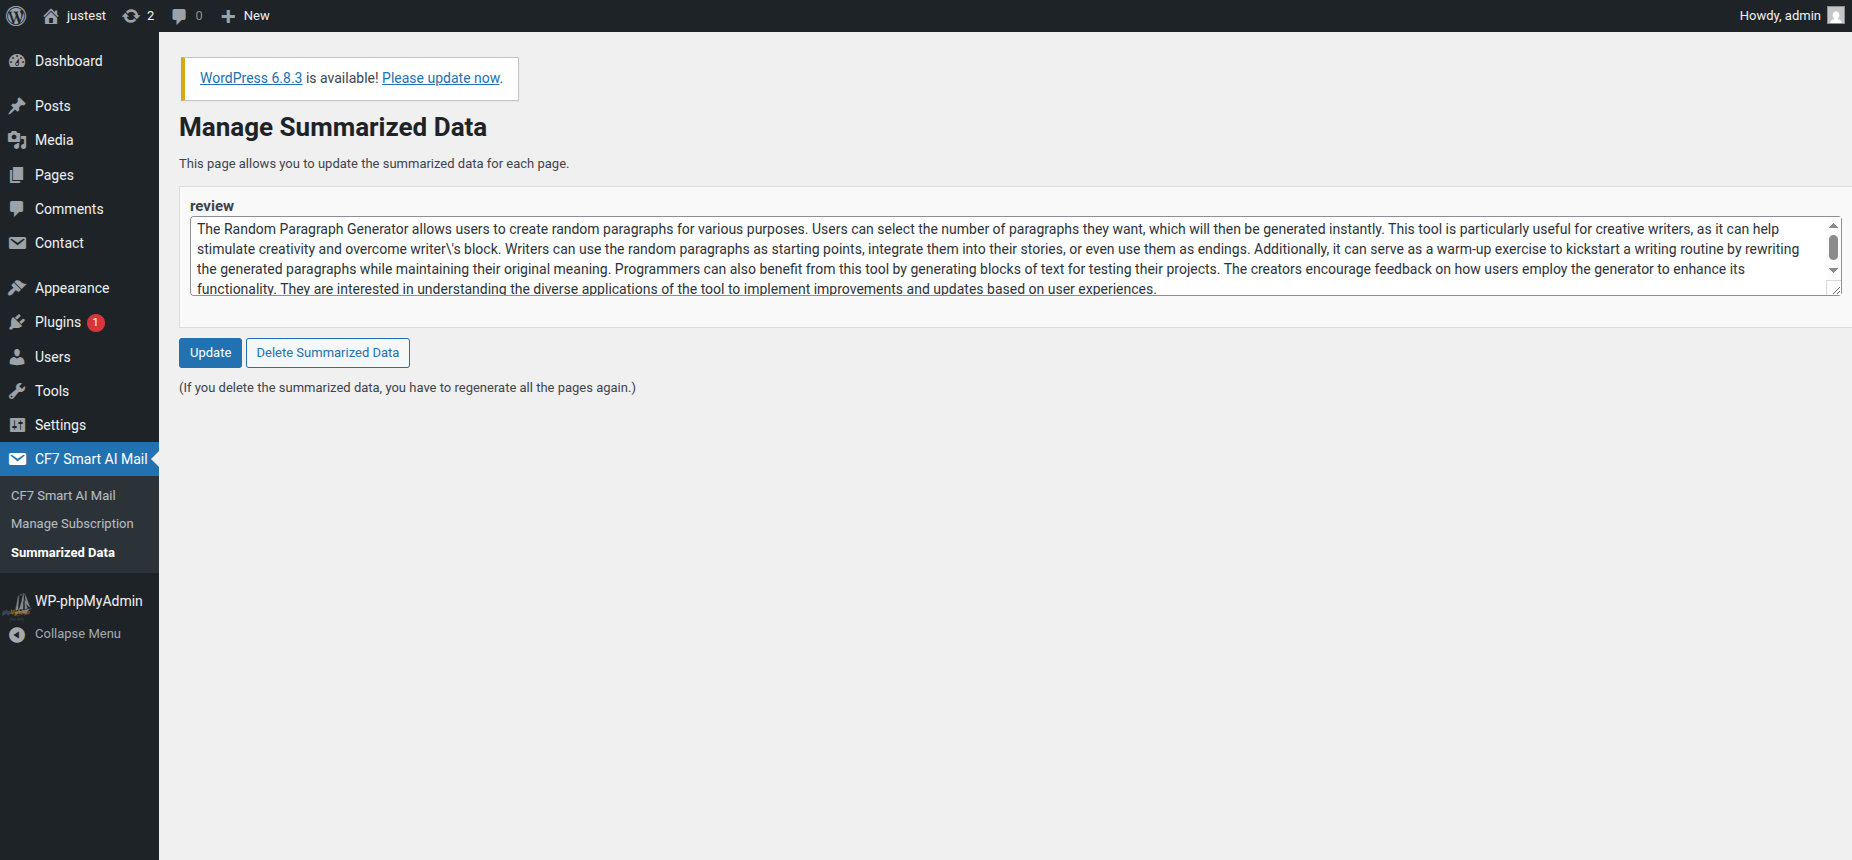
Manage Summarized Data
You can manage Summarized Data:
- On this page you can Delete and Update the summarized data.
- if you want all the summarized data to be deleted then just click on Delete Summarized Data.
- After deleting the summarized data you need to summarize again all the pages you want.
That’s It — You’re Ready!
Once set up:
✔ Visitors submit a Contact Form 7 form
✔ AI reads your selected pages
✔ AI writes a professional response
✔ System sends the email automatically
✔ Everything is logged inside the plugin
You don’t need to configure anything else.